Genel
Zabbix Telegram Entegrasyonu / Zabbix Telegram Integration

Zabbix, güçlü bir izleme ve uyarı sistemidir. Telegram entegrasyonu sayesinde, sistemde meydana gelen hataları ve kritik olayları anlık olarak Telegram gruplarına bildirebilirsiniz. Bu makalede, Zabbix ile Telegram entegrasyonu nasıl yapılır? sorusunun cevabını adım adım anlatacağız.
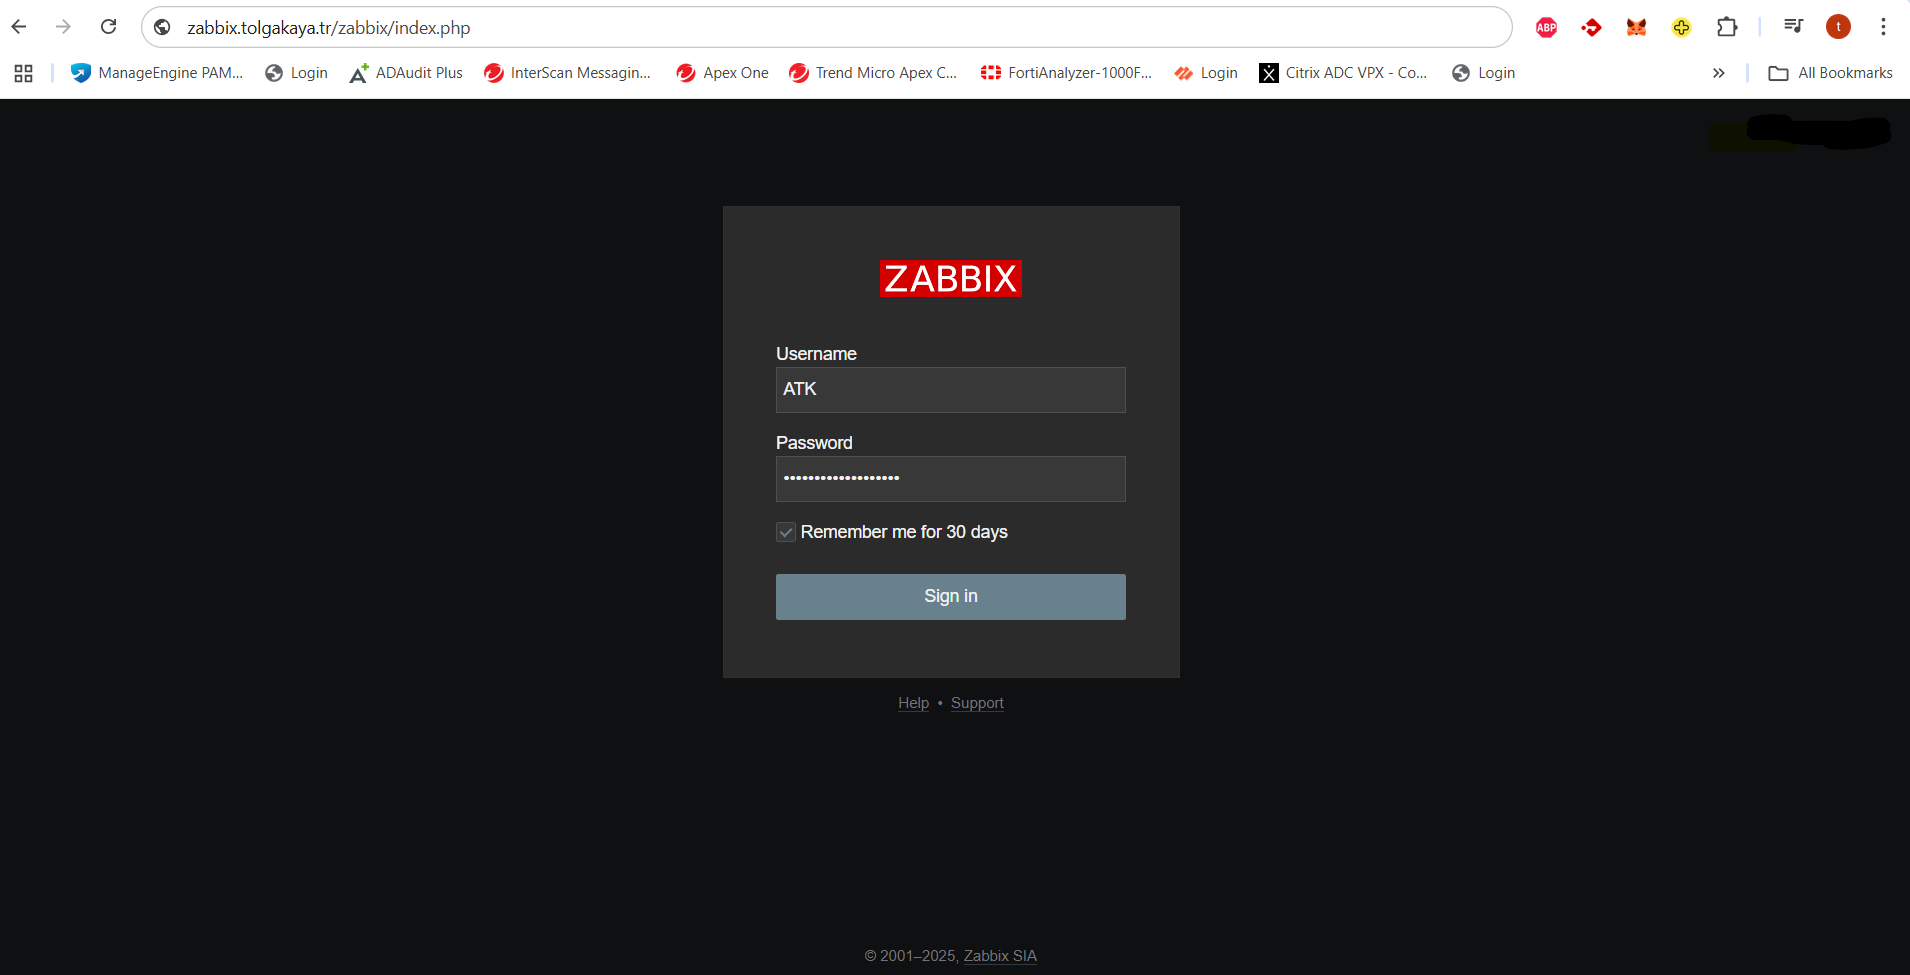
Öncelikle Zabbix portalına giriş yapıyoruz;

📌 Adım 1: Telegram Bot’u Oluştur
- Telegram’da @BotFather‘ı arayın ve sohbeti başlatın.
/newbotkomutunu yazın.- Bot için bir isim belirleyin (Örneğin:
ZabbixATKBot). - Bot kullanıcı adını belirleyin (Örneğin:
ZabbixATK_Bot). - BotFather, size bir Bot Token verecek (Örnek:
123456789:ABCDEFGH-IKLMNOPQRSTUVWXYZ).
📌 Adım 2: Kullanıcı ID’sini Al
- Telegram’da @userinfobot botunu arayın ve başlatın.
- Bot, size kullanıcı ID’nizi gösterecektir. (Örnek:
123456789).
📌 Adım 3: Zabbix Media Type Ayarlarını Yapılandır
- Zabbix arayüzüne giriş yapın.
- Alerts > Media Types > Create Media Type menüsüne gidin.
- Name:
Telegram - Type: Script
- Script name:
telegram.sh - Script parameters:
{ALERT.SENDTO}(Kullanıcı ID){ALERT.SUBJECT}(Başlık){ALERT.MESSAGE}(Mesaj içeriği)

📌 Adım 4: Telegram Script’i Zabbix Sunucusunda Oluştur
- Terminalde şu dizine gidin:
cd /usr/lib/zabbix/alertscripts/ telegram.shdosyasını oluşturun:sudo nano telegram.sh- Aşağıdaki kodu ekleyin:
#!/bin/bash BOT_TOKEN="123456789:ABCDEFGH-IKLMNOPQRSTUVWXYZ" CHAT_ID="$1" MESSAGE="$3" curl -s -X POST "https://api.telegram.org/bot${BOT_TOKEN}/sendMessage" \ -d chat_id="${CHAT_ID}" \ -d text="${MESSAGE}" - Kaydedip çıkın (
CTRL + X,Y,Enter). - Script’e çalıştırma izni verin:
sudo chmod +x telegram.sh
📌 Adım 5: Kullanıcıya Telegram’ı Atama
- Administration > Users > Kullanıcı Seç > Media > Add adımlarını takip edin.
- Type: Telegram
- Send To:
123456789(Kullanıcı ID’sini yazın.) - When Active: Always
- Status: Enabled

📌 Adım 6: Test Et
- Configuration > Actions > Trigger Actions menüsüne gidin.
- Yeni bir tetikleyici oluşturun (Örneğin: Host Down).
- Eğer her şey doğruysa, Telegram’a anında bildirim alacaksınız ✅
Zabbix is a powerful monitoring and alert system. With Telegram integration, you can instantly receive alerts about errors and critical events in the system. In this guide, we will explain how to integrate Zabbix with Telegram step-by-step.
Firstly we login to Zabbix portal;

📌 Step 1: Create a Telegram Bot
- Search for @BotFather on Telegram and start the chat.
- Type the command
/newbot. - Choose a name for your bot (e.g.,
ZabbixATKBot). - Set a username for your bot (e.g.,
ZabbixATK_Bot). - BotFather will provide you with a Bot Token (e.g.,
123456789:ABCDEFGH-IKLMNOPQRSTUVWXYZ).
📌 Step 2: Get Your User ID
- Search for @userinfobot on Telegram and start the chat.
- The bot will display your user ID (e.g.,
123456789).
📌 Step 3: Configure Zabbix Media Type
- Log in to the Zabbix interface.
- Navigate to Reports > Media Types > Create Media Type.
- Name:
Telegram - Type: Script
- Script name:
telegram.sh - Script parameters:
{ALERT.SENDTO}(User ID){ALERT.SUBJECT}(Subject){ALERT.MESSAGE}(Message content)

📌 Step 4: Create the Telegram Script on the Zabbix Server
- Open the terminal and navigate to the following directory:
cd /usr/lib/zabbix/alertscripts/ - Create the
telegram.shfile:sudo nano telegram.sh - Add the following code:
#!/bin/bash BOT_TOKEN="123456789:ABCDEFGH-IKLMNOPQRSTUVWXYZ" CHAT_ID="$1" MESSAGE="$3" curl -s -X POST "https://api.telegram.org/bot${BOT_TOKEN}/sendMessage" \ -d chat_id="${CHAT_ID}" \ -d text="${MESSAGE}" - Save and exit (
CTRL + X,Y,Enter). - Grant execution permission to the script:
sudo chmod +x telegram.sh
📌 Step 5: Assign Telegram to a User
- Go to Administration > Users > Select User > Media > Add.
- Type: Telegram
- Send To:
123456789(Enter your User ID) - When Active: Always
- Status: Enabled

📌 Step 6: Test the Integration
- Navigate to Configuration > Actions > Trigger Actions.
- Create a new trigger (e.g., Host Down).
- If everything is set up correctly, you will receive an instant notification on Telegram ✅


